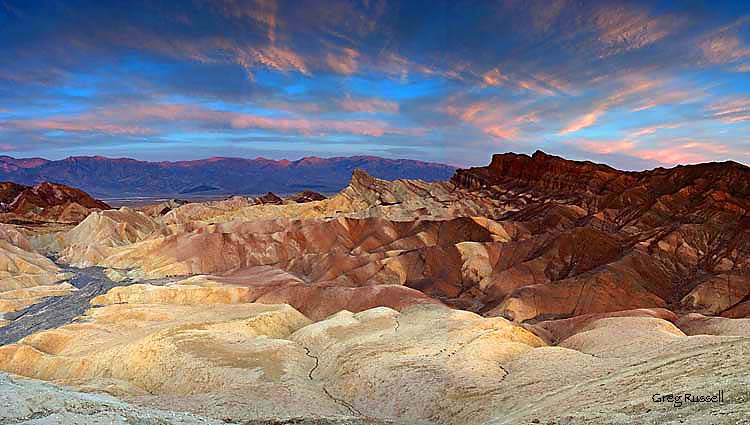
As a photographer, or even a nature lover, you’ve probably stood staring at a wide vista wondering how you can possibly do that view justice in your photographs. Maybe you’ve even wanted to be able to print that picture large to give a room in your home the same feel as actually standing there. Have you ever thought about taking multiple images of a scene and stitching them together into a panorama?
Shooting “panos” has become more popular in the last few years with the advent of point-and-shoot digital cameras that stitch the image in-camera for you, but if you want to shoot a panorama with your SLR, there are some things to consider. First, and this should be a no-brainer, pick something interesting to shoot. It may look impressive as is, but if you pick out something with substance, it will look even better!
So you’ve got your vista picked out. Now what? In my experience, the key to producing quality panoramas is making sure your tripod is level. If this is the case, you will have much better luck at the stitching process. I have used two different methods to level my gear; the first is via a two-step process that’s super cheap.
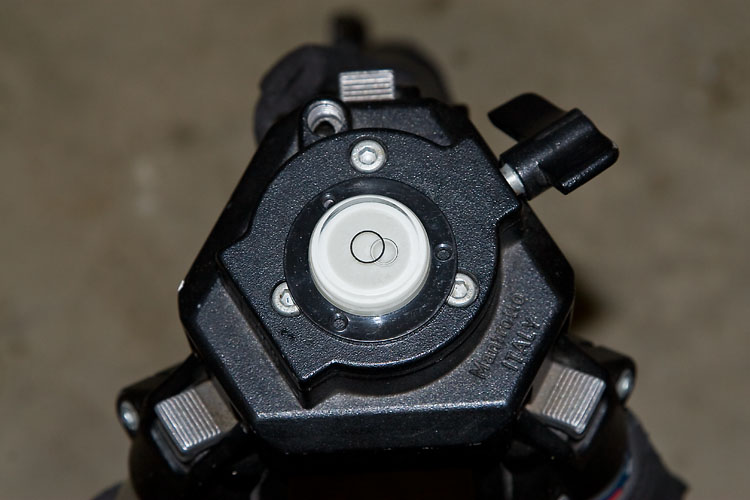
My tripod does not have a built-in bubble level, so I start by removing the head, and placing a bubble level (~$3 at Ace Hardware) on the tripod. Tinker with the lengths of your tripod legs until you level the tripod. Now, put your head back on, and you’ll see that it can rotate on a level base.

By removing the head and using a spirit bubble level, I can make sure my tripod head is rotating on a level base.
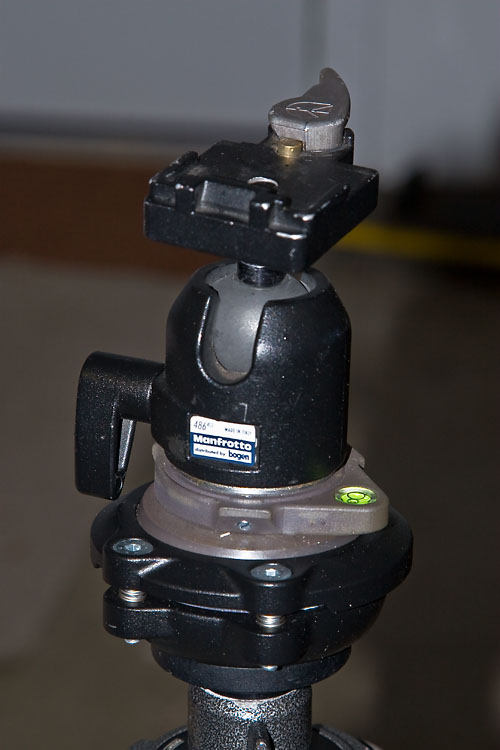
The second, and more recent, method I’ve used is by putting a leveling base on my tripod. I use the Manfrotto 438 leveling base, but other companies like Acratech also make them. They’re more expensive than my first method, but they’re way faster and you don’t have to fiddle with your tripod legs. To level your camera on your tripod use a hot shoe level like the Jobu Designs Dubble Bubble level.
OK, now you’re level. The rest of the pano practically shoots itself. I usually work from left to right, making sure to overlap my images by anywhere from ~1/3-1/2. This makes for a lot of images (many of mine are 12-15 images) but you’re almost sure to get a better stitch at the computer.
A couple of other things to consider before we discuss stitching:
- To shoot vertical or horizontal…that is the question. In stitching, you’re almost guaranteed to lose a little of the top and bottom of your images because the software will correct for barrel distortion. Because of this, I almost always shoot my panos in a vertical orientation. That way I’m left with an image that is a little more proportional, instead of something VERY long and skinny!
- Just like with any shot, sharpness matters. When I shoot panoramas, I almost always use a cable release and set my camera to shoot in mirror lock-up mode. This reduces any possible vibration, hopefully ensuring a better stitch.
- Do not change your focus or any camera settings while shooting your panorama. However, consider bracketing your shots. That way you have more to work with at the computer, and you can even consider making an HDR panorama (let’s save that for another blog post, please).
- I haven’t addressed the problem of parallax yet. Unless you are rotating on the nodal point of your lens (or using a pano slider), you will have parallax issues if anything in your pano is closer than ~10-15 feet. The cheap solution is to make sure trees, rocks, etc are further than ~10-15 feet from my camera, and that seems to work to subdue parallax. The obvious downside to my method is that you’re constrained as to your compositional choices.
So, now you’ve got your image files, and you’re back at the computer. Can you simply align them in Photoshop manually, then crop the canvas down to its final size? I think this works for most people ~1% of the time (I’ve managed to do it once, and I’m 99% sure it was dumb luck). Every other time, the barrel distortion, as well as other factors, will necessitate the use of software to help you stitch your images together.
For stitching panoramas, I use the software package Panorama Factory. I like it because it has a fully automatic mode, which should work really well if you leveled your rig properly and provided enough overlap between images. Alternatively, Panorama Factory allows for various levels of manual stitching, letting you define stitching points, and for the occasional difficult to stitch image, I like that mode a lot as well. If you are interested in shooing HDR panoramas, Panorama Factory will stitch different sets of exposure identically so they overlay perfectly. I have to admit that I’ve tried this once, and it didn’t work quite as smoothly as I’d like. I’ve found that using the auto-align feature in Photoshop CS4 works well before blending images.
So, that’s basically it. This tutorial was meant to get you taking beautiful panoramas using a minimal amount of equipment. I hope you enjoyed it. Feel free to add to the comment section if there’s anything I missed, or needs corrected. Hope you can find this useful!


Good post and advice Greg. I love shooting panos. Another great piece of software for stitching panos is AutoStitch. It’s what I use. It’s a free program that does an amazing job. It’s only available to Windows users though. It can be found at http://www.autostitch.net
Nice summary of basic shooting for panos – and great to see you sharing the fact that you don’t always need the expensive specialty pano equipment.
I’ll second the motion about leveling the tripod – absolutely critical. I don’t use a leveling base, though I’ve been thinking about it, but I’m very careful swing the camera through the whole scene before shooting to check that things stay in line from frame to frame.
One question that often comes up is what lens to use. It seems obvious to those who do panos, but generally you will use normal to long lenses rather than wides, since the object is to get wide coverage by stitching together a bunch of non-wide images.
I have had excellent luck with Photoshops merge feature – frankly I don’t think it has ever failed me unless I was very careless with my shooting.
Thanks!
Dan
Thanks for pointing out which lens to use, Dan! That’s a fantastic point, because I very rarely use my wide angle to shoot panos; I usually use my 24-105, or even my 300/4.
Great post Greg. I’ve only done a few panos with my 70-200 and they didn’t turn out so hot. I made a simple bubble level to attach to my hot shoe, but it doesn’t work when I go vertical.
Thanks again Greg.
Thanks for the guide, Greg. Does the distance objects need to be from the lens to avoid parallax depend on the lens? I’ve found myself getting parallax problems with things further than 20 feet out …though I haven’t been as careful about leveling as I should be.