In hindsight this seems like a no-brainer, but since its come up in a few threads recently (e.g. http://www.naturescapes.net/phpBB3/viewtopic.php?f=2&t=162031 ), I thought I would address the question of whether its better to feed a TIFF or RAW file into Photomatix for HDR generation. For this comparison, I chose to tone map only one image, not several. Although you probably already know the outcome, the end images are only subtly different, but getting there was quite different.
I started with a base image, shot in Zion National Park last weekend:
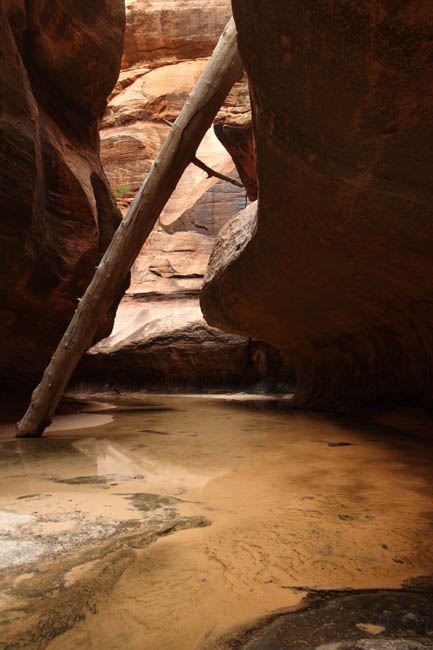
This is the RAW image; all I did before feeding it into Photomatix was adjust the white balance to “shady” in DPP. The TIFF image looked identical; all I did was save it as an uncompressed TIFF with no other change. As soon as I opened the RAW image in Photomatix, it underwent a process of demosaicing and decompressing. I could already tell that it would be taking advantage of the “extra” info in the RAW image. It opened the image as a “pseudo-HDR” image, and I was able to obtain some stats on it:

The TIFF image opened simply as the TIFF image, and there was no more information associated with it than with a regular image. I first tonemapped the images using the Details Enhancer algorithm, and saved them as TIFF files for use in PS. There wasn’t much difference between the two:
Here’s the RAW file tone mapped with DE:
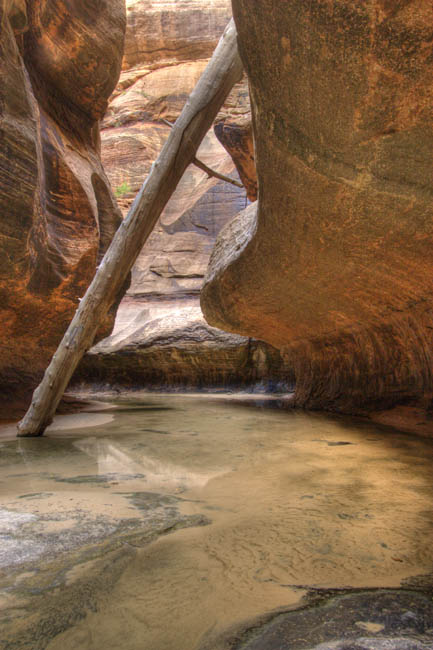
And the TIFF file tone mapped with DE:
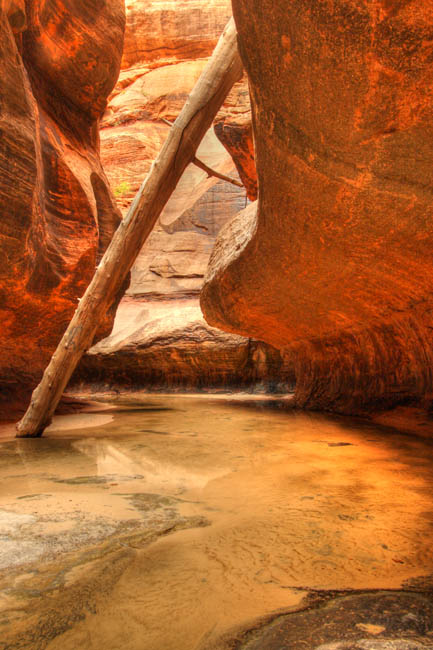
Then I did the same thing using the Tone Compressor algorithm:
The RAW file:
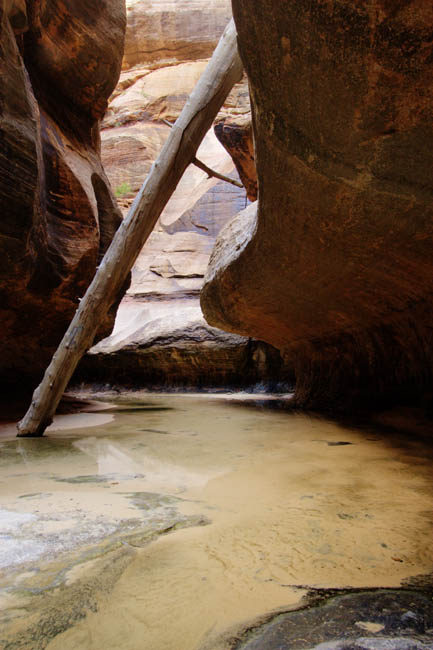
And the TIFF file:

Whoa! I can only assume this funky-looking image is the result of the loss of information during conversion from RAW to TIFF early in my workflow. So, now I have 2 tone mapped images obtained from the original RAW file, and 2 from the original TIFF file. My workflow for each of the 2 final images was slightly different although not much:
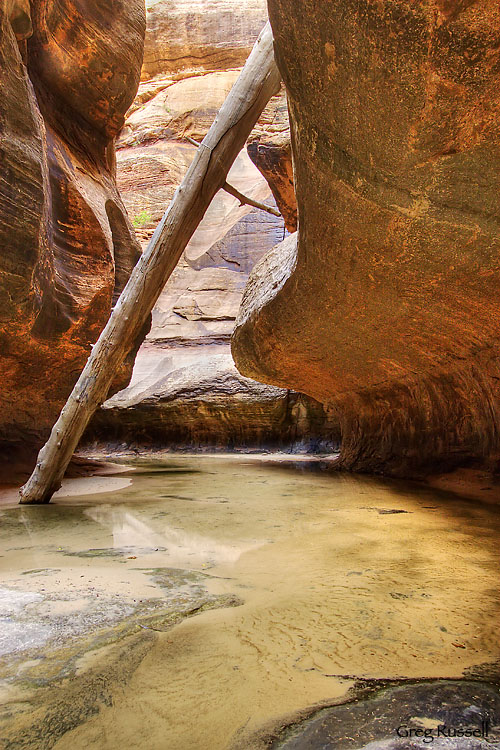
For the RAW-derived images I used the DE tone mapped image as the base image in PS, and pasted the TC image over it. I used the Overlay blending mode at ~30% opacity, and the image looked pretty good. I did levels and curves adjustments (and also a desaturation of about -15), noise reduction with Imagenomic Noiseware, then some sharpening and I called it good:
For the TIFF-derived images, I again used the DE tone mapped image as the base image, and pasted the TC image over it. This time, because of the extreme nature of the TC image, I used a “Linear Burn” blending mode at about 25% opacity, and the image looked pretty natural. After normal processing (including noise reduction), here is what I got:
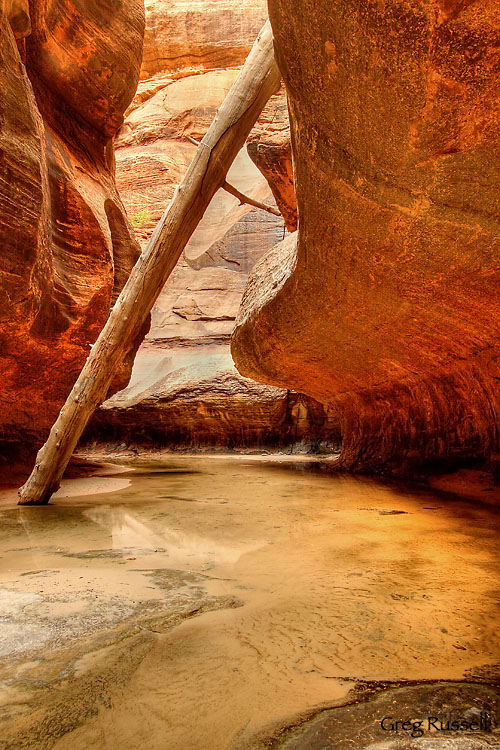
In the end the differences between the images are subtle, and I like them both for different reasons. The RAW-derived image looks more “natural”, but I sort of like the reddish “glow” that’s present in the TIFF derived image. The no-brainer here is that you certainly lose a lot of valuable information by using TIFF instead of RAW for this sort of application.
I doubt anyone cares as much as I do (haha), but this was an instructive exercise to go through.

This is good info, I’m going to give it a try. Nice post Greg.