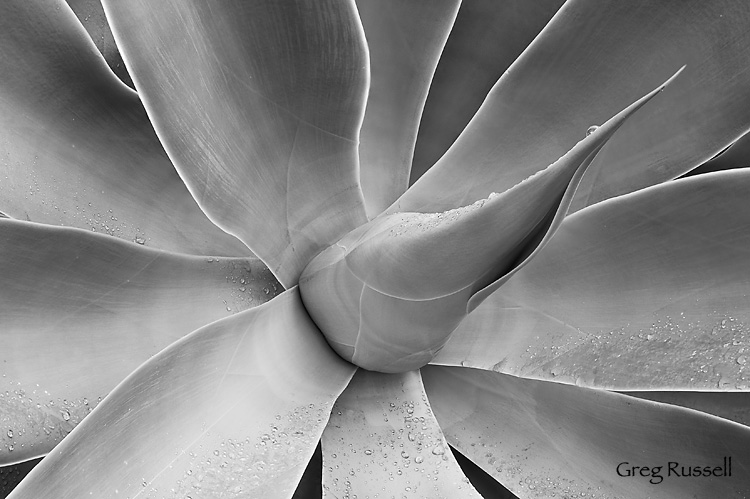
I recently blogged about my winter project of shooting agaves locally. In prepping for this shoot, I wanted to make sure the entire plant was in focus, and I knew using my depth of field table, that it was essentially impossible using my 24-105/4 lens:
- The example I’ll use in this post was shot from a distance of ~2 feet at a focal length of 47mm and aperture of f/10; using my Canon 30D, my total depth of field is 0.2 feet. That isn’t nearly enough to get the entire agave in focus.
To circumvent this problem, I wanted to take multiple exposures at different planes of focus then blend them in Photoshop to produce an image that is entirely in focus. The problem I was having is that by doing it manually, I couldn’t find a self-feathering method to make the blend look “clean”. Fortunately Photoshop CS4 has an image blending feature that mostly automates the process for you. I’ll describe my experience using one of my agaves as an example.
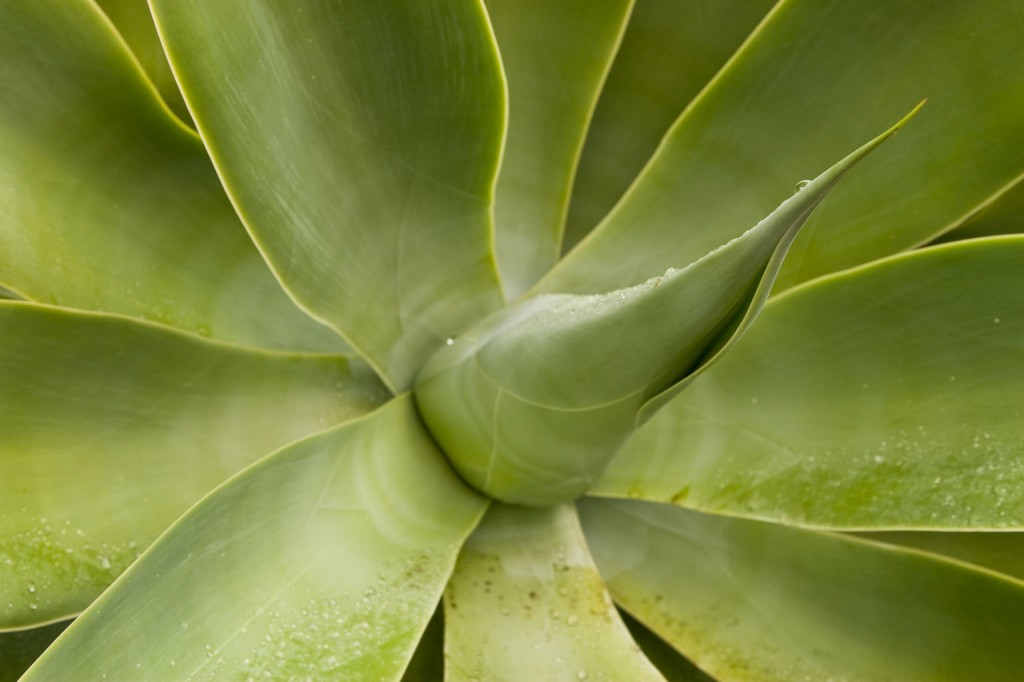
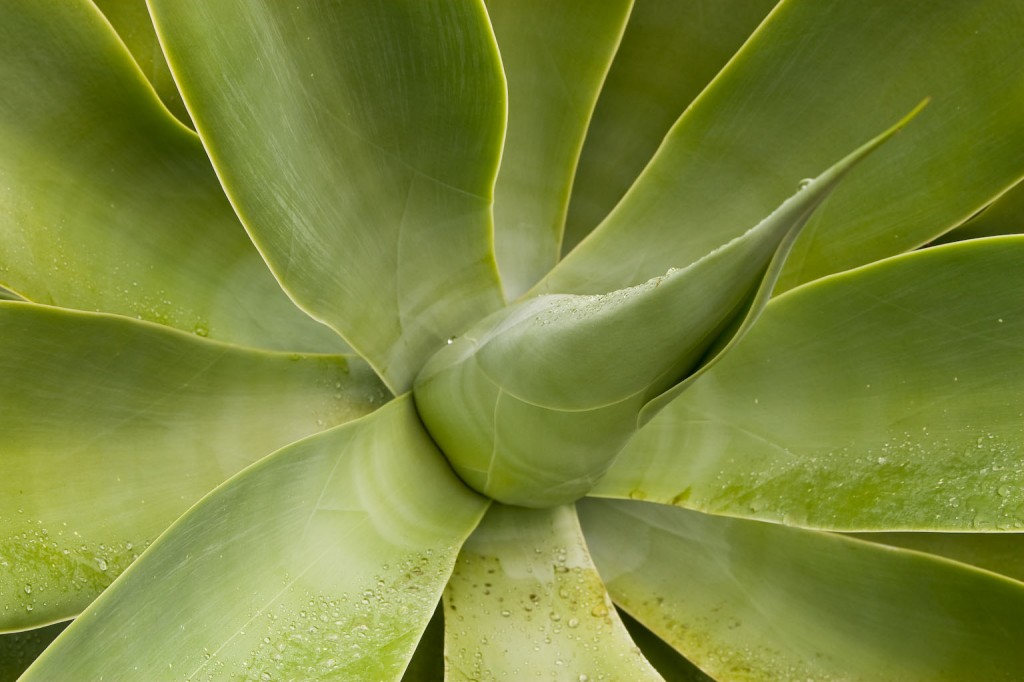
The first step was to take the shots. I composed the shot like I normally would, and took one or two tests to make sure the amount of fill flash looked about right. To get the proper diffusion, I taped a piece of white printer paper to my 430EX and underexposed by ~ -1.5 stops EV. After the shot looked “right”, I took three exposures, each one at a different plane of focus:
While these three images do not look much different, you can see subtle differences; by looking at the main floret protuding from the plant, you can see that it is increasingly out of focus as you scroll through the images.
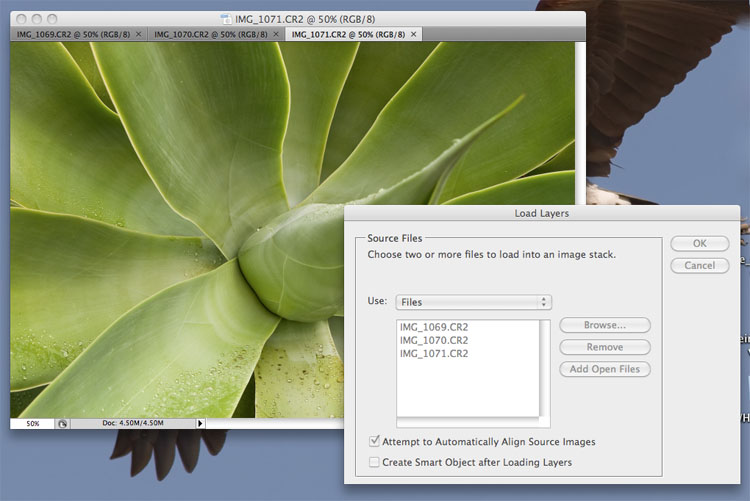
Once I got home, I converted the RAW files in a way that looked good to my eye; when you are working with multiple exposures, make sure to ‘synchronize’ all of your adjustments so all your shots look the same! This is easy to do in ACR. Then, I opened the files in Photoshop CS4. The first step is to load the files into a stack and align them. You can do this by going to File–>Scripts–>Load Files into Stack
Select the option “Add Open Files”, and check the box that says, “Attempt to Automatically Align Source Images”. This will load your base images into the script, and will align the images, because even if you shot from a tripod (using mirror lock-up) there will be some slight differences between the images.
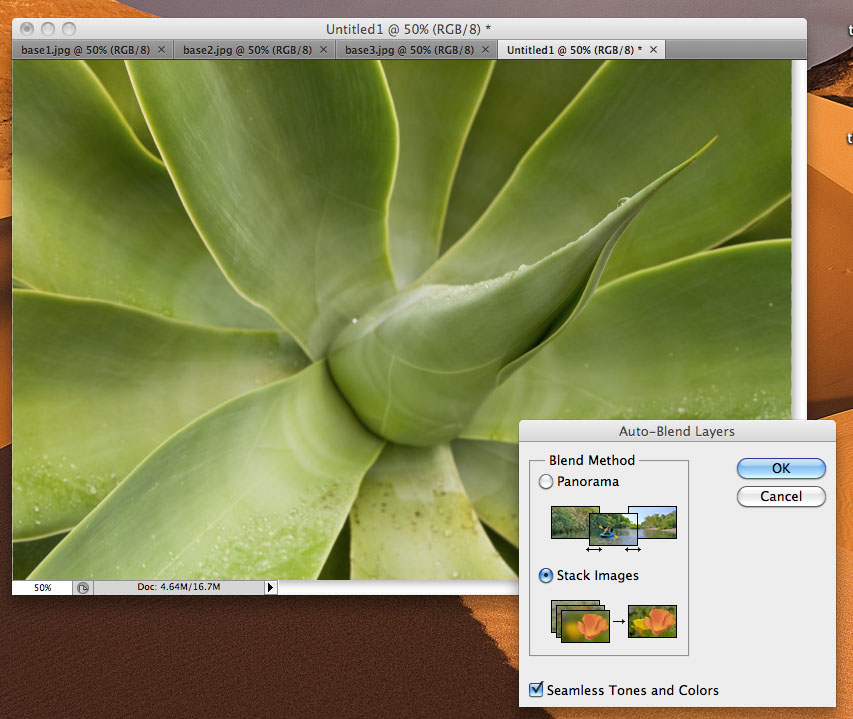
Once the script runs, you will want to select all three layers on the layers palette and go to Edit–>Auto-Blend Layers…
Select the option to stack the images and make sure the “Seamless Tones and Colors” box is checked. This will produce a perfectly feathered and mostly blended image using your base images. At this point, I suggest you inspect the image at 100% to make sure it is indeed perfectly blended. On some images, the script has done a great job, and on others I’ve had to reload some images as separate layers and mask off the “in focus” part.
Even if it doesn’t work perfectly, this method will get you most of the way there. If you like the result, you can flatten the image and edit as you normally would.
There are times you may not necessarily need to use this method; for instance, sometimes simply stopping down to f/16 or f/22 may get you the depth of field you need, but remember, as you stop down, you are losing resolution. Thus, shooting at a wider aperture and blending exposures can be beneficial if you plan on printing the image.

